This blog presents a bash script that I created to automate the installation of a webserver based on django, nginx and gunicorn on a CentOS 6.5 VPS. The installation installs and configures the necessary system packages, and it installs a number of javascript tools like jquery, jquery-ui, datatables, flot, fancytree and others.
When the installation is complete it creates a fully running installation with support for HTTP and HTTPS with a basic django page that show how to use the various javascript tools. It also installs a self signed certificate for HTTPS.
The steps below show how to download and use the script to install a webserver with a sample page that uses a bunch of tools like jquery, bootstrap, datatables, fancytree, flot and jscrypto.
Step 1: Create a VPS using CentOS 6.5
You need to have a virtual private server with root access based on CentOS 6.5. I recommend doing this using Amazon EC2, Digital Ocean, Dream Hosts, InMotion, Rackspace or some other VPS provider but you could also do it by setting up a VM on one of your local hosts using tools like VMware Player, VirtualBox, KVM, Xen or Hyper-V.
I use a very basic installation since all of the server tools will be installed by the script.
After it is running make sure that you run “yum update -y” to bring all of the packages up to date. You also need to make sure that wget is installed in step 3.
$ yum update -y
$ yum install -y wget
Step 2: Create the webdev user
Before running the script you need to create a role account for development. The script assumes that the default role account is webdev. This must be done as root.
$ sudo useradd webdev
$ sudo passwd webdev
New password: webdev*pwd
Retype new password: webdev*pwd
passwd: all authentication tokens update successfully.
# add webdev ALL=(ALL) ALL
visudo
Step 3: Download the script and extract it
The example shows how to download the script using wget but you can also download it here http://projects.joelinoff.com/mkwebsite/centos-6.5-x86_64/mksite-1.2.tar.bz2.
$ su - webdev
$ mkdir work
$ cd work
$ wget http://projects.joelinoff.com/mkwebsite/centos-6.5-x86_64/mksite-1.2.tar.bz2
$ tar jxf mksite-1.2.tar.bz2
$ ls -1
install.sh
mksite-1.2.tar.bz2
setup
It will download the install.sh script and the setup directory tree in the local directory. The setup directory tree contains a number of tools and data files needed for the website configuration.
Step 4: Run the installation
Running the installation is easy. Just execute the script and capture the results in a log for analysis if anything goes wrong.
$ su - webdev
$ ./install.sh 2>&1 | tee log
When the installation is complete the website will be installed in /opt/site.
Here are the basic steps that is performs:
- verify that all of the necessary system packages are installed
- verify that all of the necessary python packages are installed
- install all of the javascript and CSS packages
- install django
- configure gunicorn (with supervisor to control boot time startup)
- configure the nginx server (for HTTP and HTTPS)
- configure postgresql for the django admin users (fixed pg_hba.conf and postgresql.conf)
- configure the django DB interface (for postgresql), mongodb must be handled separately
- collect the django static data (this is a django thing)
- create the dango app and pre-populate it with some stuff
- create the self signed security certificates (to show how it is done)
This configuration assumes that you will postgresql for django admin data and MongoDB for the site data based on the idea that there are a small number of admins and a large amount of data.
Step 5. Test the installation using the Django server
In one terminal window start the server.
$ cd /opt/site/django/website
$ python django runserver 8888
In another window run a browser (in this example firefox).
$ firefox localhost:8888
Step 6. Test the installation as an external server
To test the installation as an external server, you will need to know your IP address. You can usually find that by looking at the inet address associated with eth0. If eth0 doesn’t exist or doesn’t seem to contain a valid IP address then you might be using a bridging scheme. Try running “ifconfig” with no arguments and then look through the results for a likely candidate.
$ ifconfig eth0
[output snipped]
Once you have the IP address run your browser to access that address. In the example below I used 1.2.3.4 which is not real.
$ # HTTP
$ firefox http://1.2.3.4
$ # HTTPS
$ firefox https://1.2.3.4
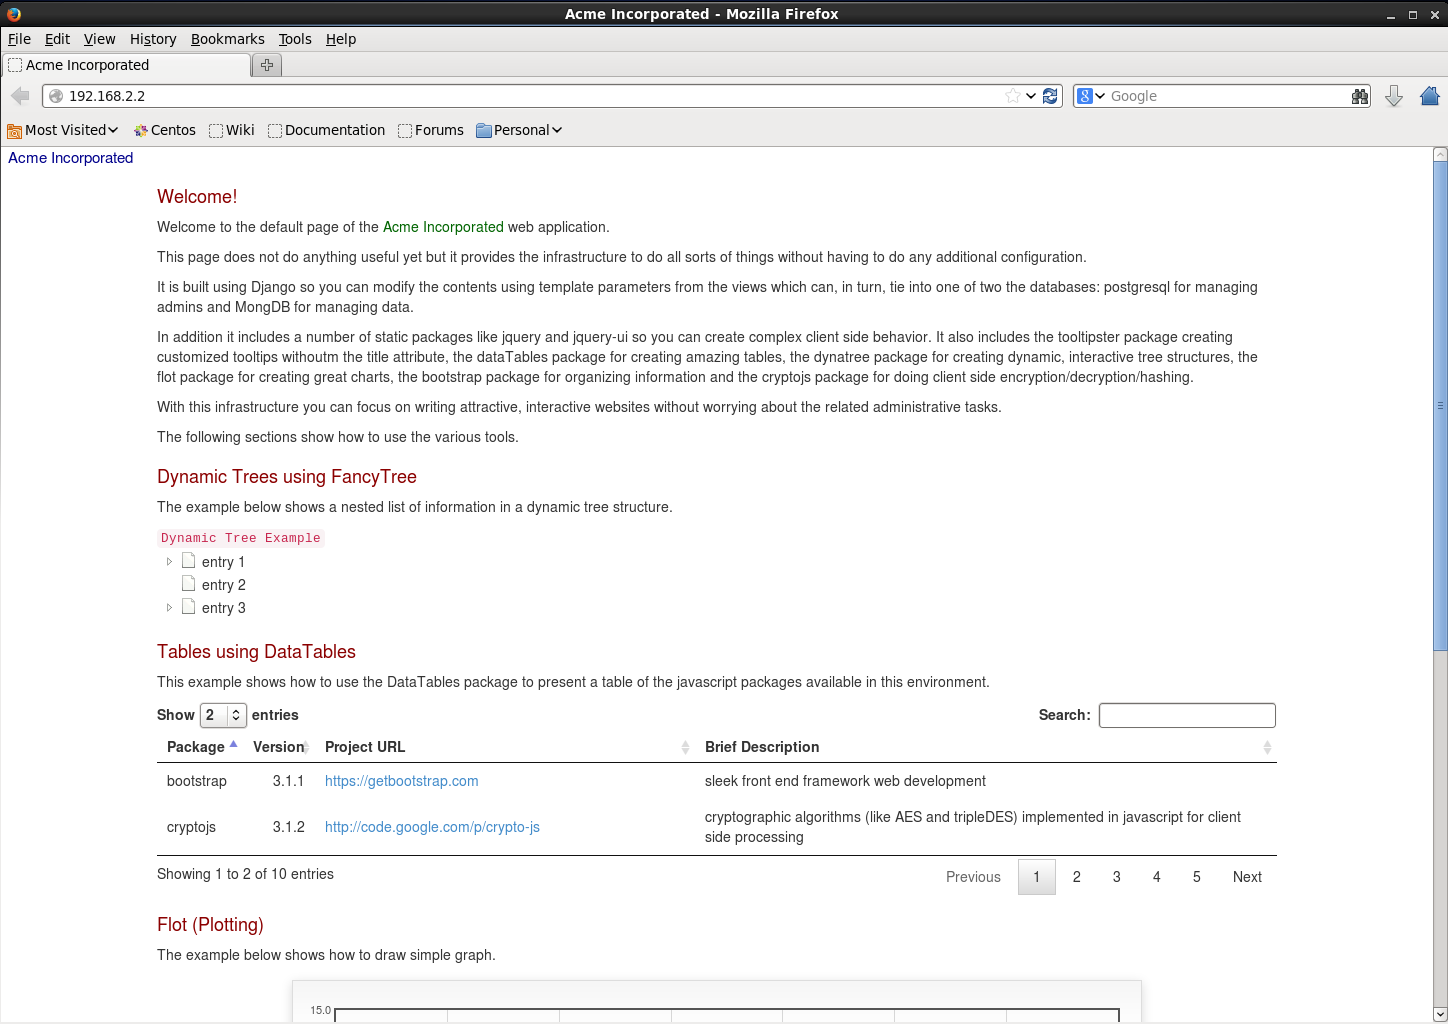
When it is done the web page will look something like this.
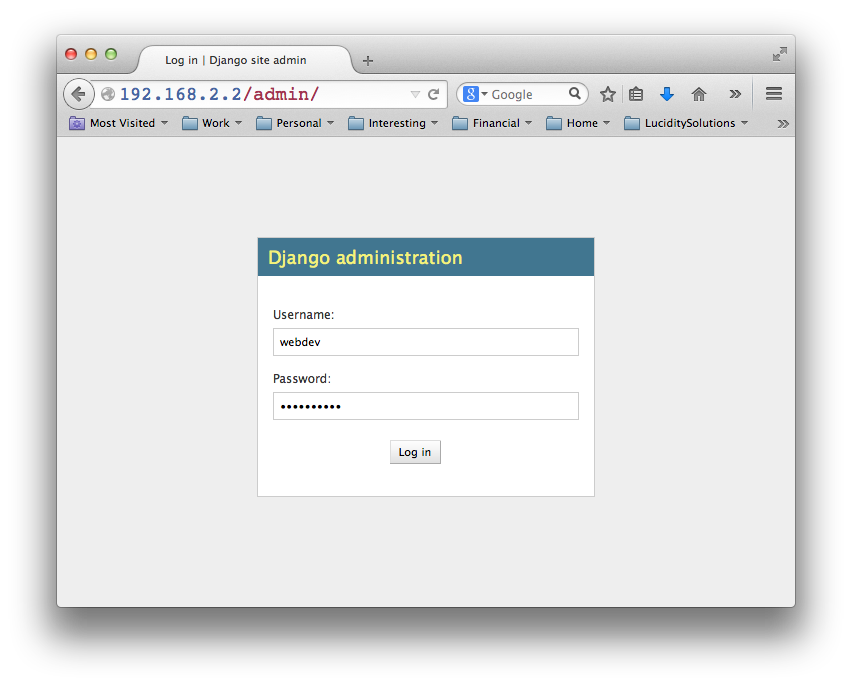
The Django admin page is available as shown below. You login using the webdev credentials.
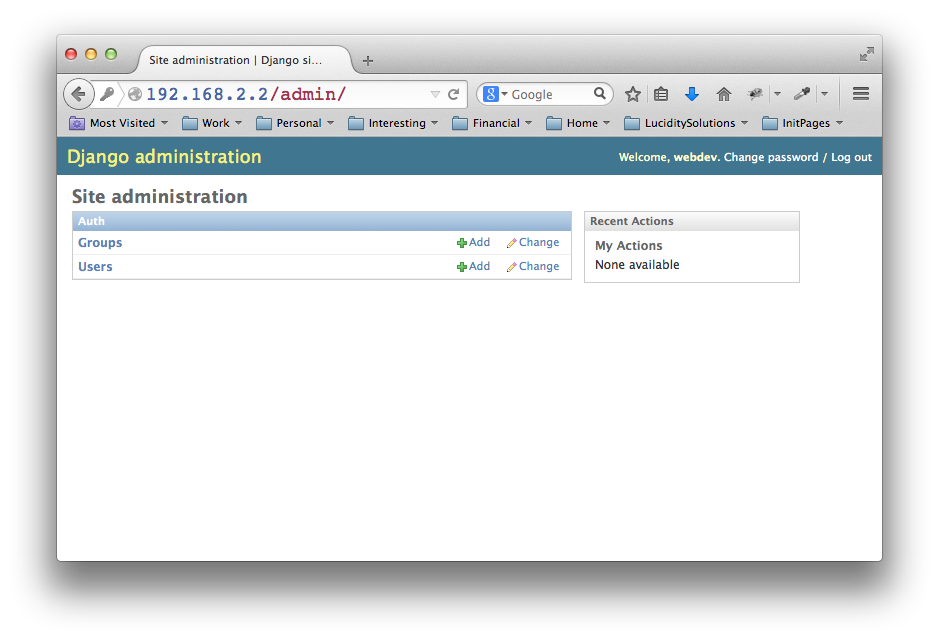
And then you get to admin page.
Step 7. Next steps
You will want to customize the django app (webapp) so that your pages have relevant information for your site. If you are new to django the easiest way to do that is to login into your VPS as webdev and edit the base__.html and index.html files in the /opt/site/django/website/webapp/templates/webapp/ directory.
You will also want to make sure that site source files are under some sort of source code control system. I use git for source code control and the github service to make them available to other developers but there are many other options available like RCS, CVS, subversion, perforce and mercurial.
If you want to access the host externally you will have to register a domain name (i.e. example.com or example.io) with one of the common domain registration service providers like HostGator, GoDaddy, NetworkSolutions or Domains.com.
Once the domain is registered the vendor will create a DNS zone file for you which you will have to edit to reference the IP address (normally eth0) of your new VPS. All of the vendors that I have used have tools that allow you to edit the DNS zone file.
You will also need a security certificate for that domain from a vendor like DigiCert to allow users to access your site using HTTPS.
If your server is public facing, then you will probably want to disable root logins (PermitRootLogin no) and change port 22 (Port 22) to something else (e.g. Port 8889) in /etc/ssh/sshd_config to reduce the total intrusion attempts because root login attempts on port 22 are among the most common brute force attacks on the web.
Here is what I had to do to get MongDB running.
$ # Complete the mongodb server installation on CentOS 6.5.
$ sudo yum install -y mongodb mongodb-server
$ sudo service mongod start
$ sudo chkconfig mongod on
$ mongo
> help
> quit()
If mongo fails to start:
$ sudo rm /var/lib/mongodb/mongod.lock
$ sudo service mongod start
Troubleshooting
If you encounter trouble check the logs or post a question. The most interesting logs are in /opt/site/logs and /var/log. I typically use a command like “find /var/log -cmin -5 -type f” to find interesting logs within 5 minutes of a problem event.
T.1 Firewall block external access
If you are having trouble accessing the site externally but not locally make sure that your firewall is open for external access if you want to allow that (in some cases that is not desirable for protected development systems).
$ sudo iptables -A INPUT -p tcp -m tcp --dport 80 -j ACCEPT
$ sudo iptables -A INPUT -p tcp -m tcp --dport 443 -j ACCEPT
$ sudo service iptables save
$ sudo service iptables restart  # this may not be necessary
Script Revision History
| NOTE: | Fixed a bug in version 1.1 of the script that caused the MongoDB setup to fail. |
| NOTE: | Fixed a bug in version 1.0 of the script that caused the gunicorn (supervisord) setup to fail. Fixed another bug where the default password was set improperly. |
Enjoy!
2 thoughts on “Automatically install a webserver based on django, nginx and gunicorn on a CentOS 6.5 VPS”
Leave a Reply
You must be logged in to post a comment.
Hi.. thanks for automating installation. In my case, I am using MySQL and Python 2.7.1(within Virtual Env). What do i need to change in your script?
You probably don’t need to change much for Python 2.7.1 but changing to MySQL will require a number of changes because Postgres is used as the admin DB for Django.
I don’t use MySQL anymore so I can’t help with specific implementations details but here are some ideas to get you started: